This is part 2 section on “Building Single Tenant SAAS application in AWS” if you have not read part 1. Please refer Building Single Tenant SAAS application in AWS (Fully automated): Part1 before proceeding further.
The next step is to implement CodeDeploy at AWS end.
Implementing CodeDeploy
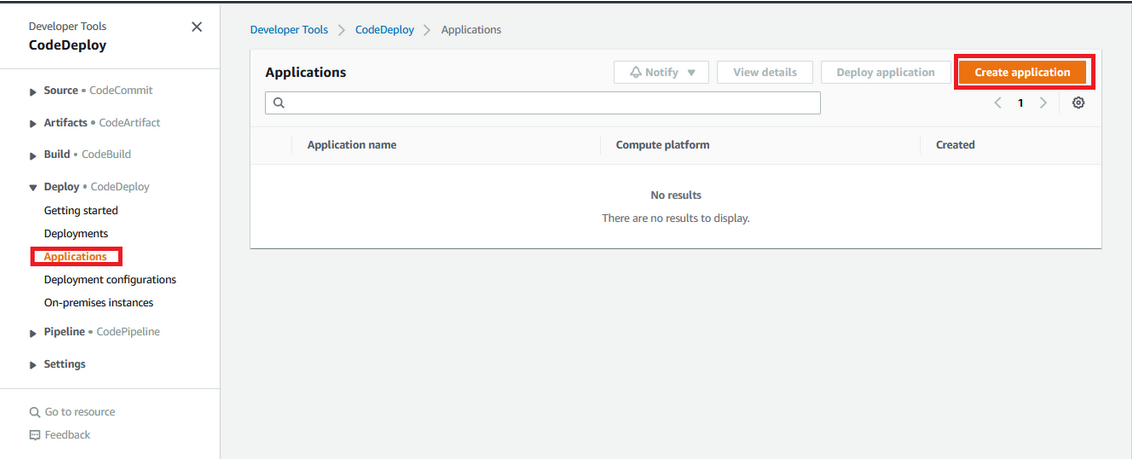
Creating Application
- Log into the AWS Console using the correct credentials and once you logged in Go to All Services→ CodeDeploy Service→ Click on Application from the left side Pane→ Click on Create Application.
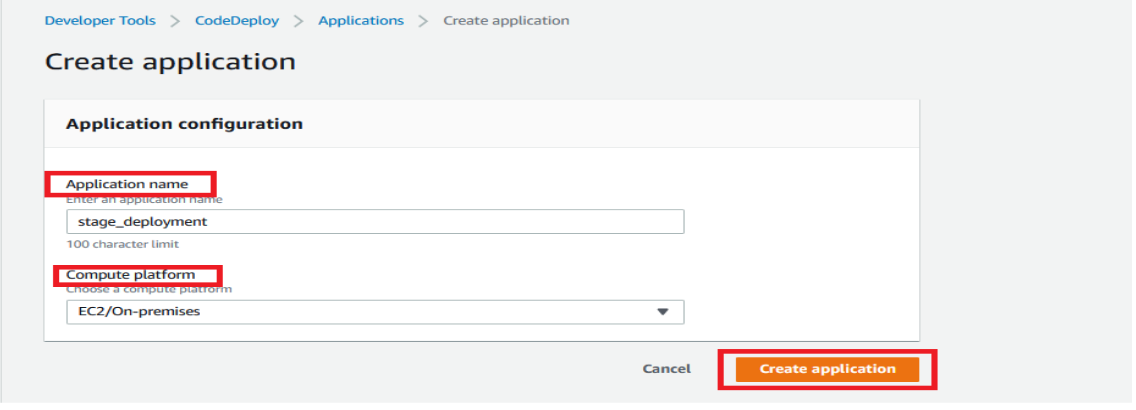
- Provide the following details and then Click on Create Application
- Application Name→ stage_deployment (might be any name of your choice)
- Compute Platform→ Select EC2/on-premises
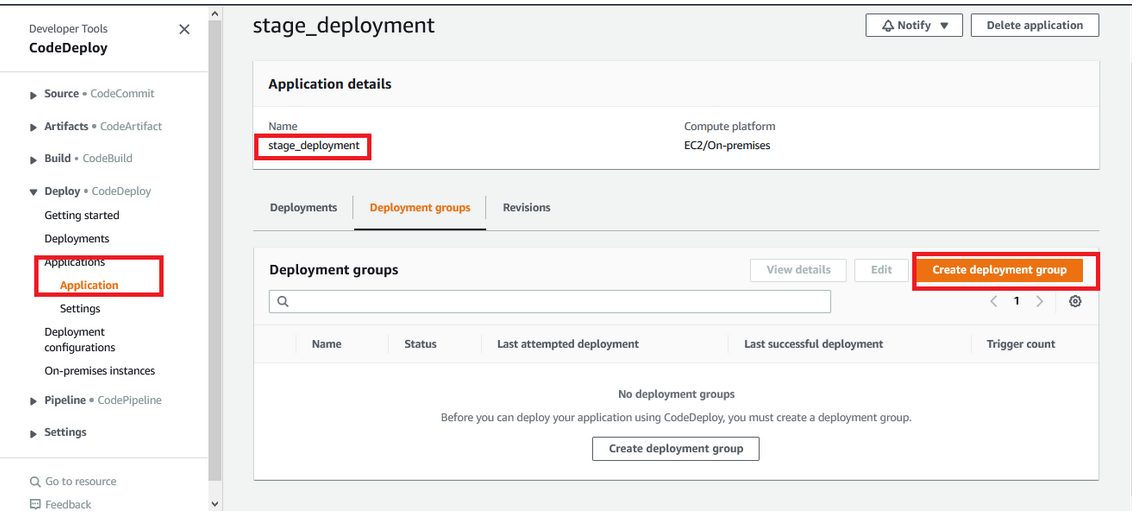
Creating Deployment Group
- Go to All Services→ CodeDeploy Service→ Click on Application which we have create named stage_deployment and then Click on Create Deployment Group.
- Now provide the following
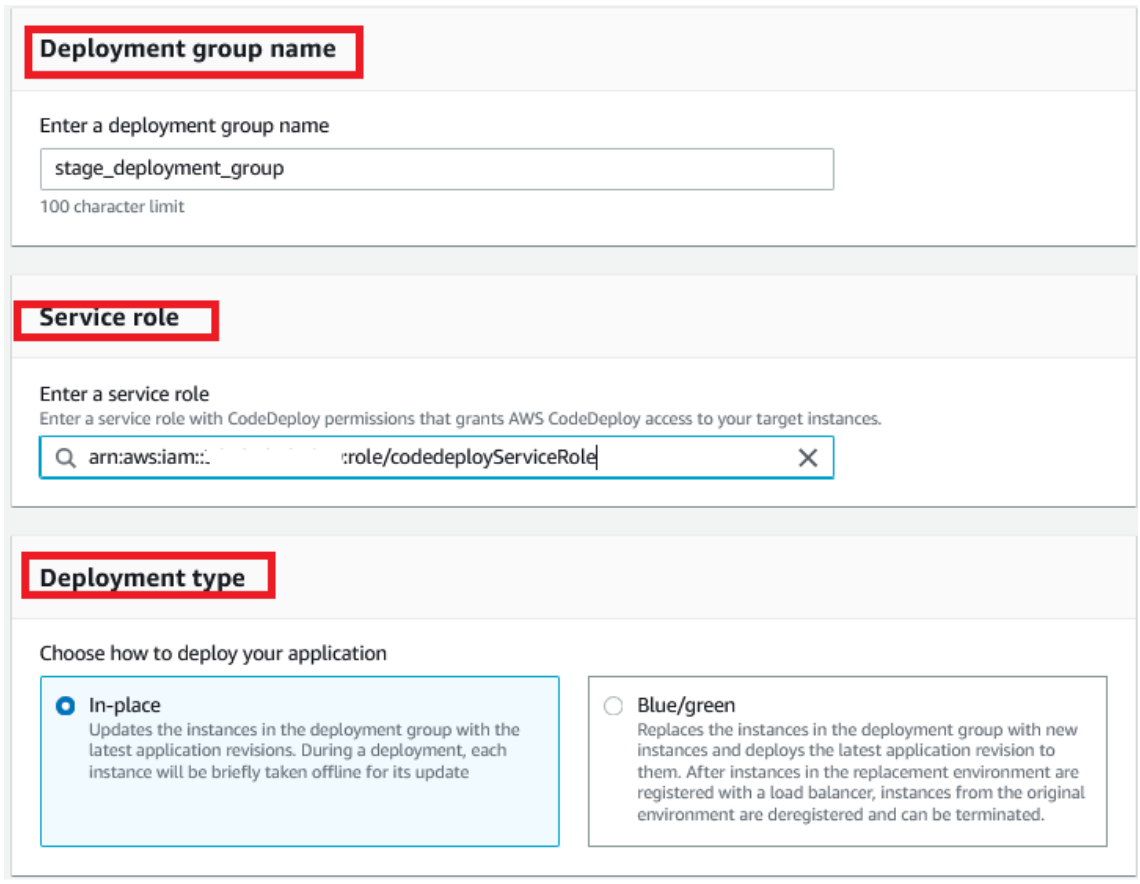
- Enter Deployment Group name→ stage_deployment_group
- Enter the Service Role→ You have you to select the role which you have created already with Codedeploy full access.
- Deployment Type→ Select In-place.
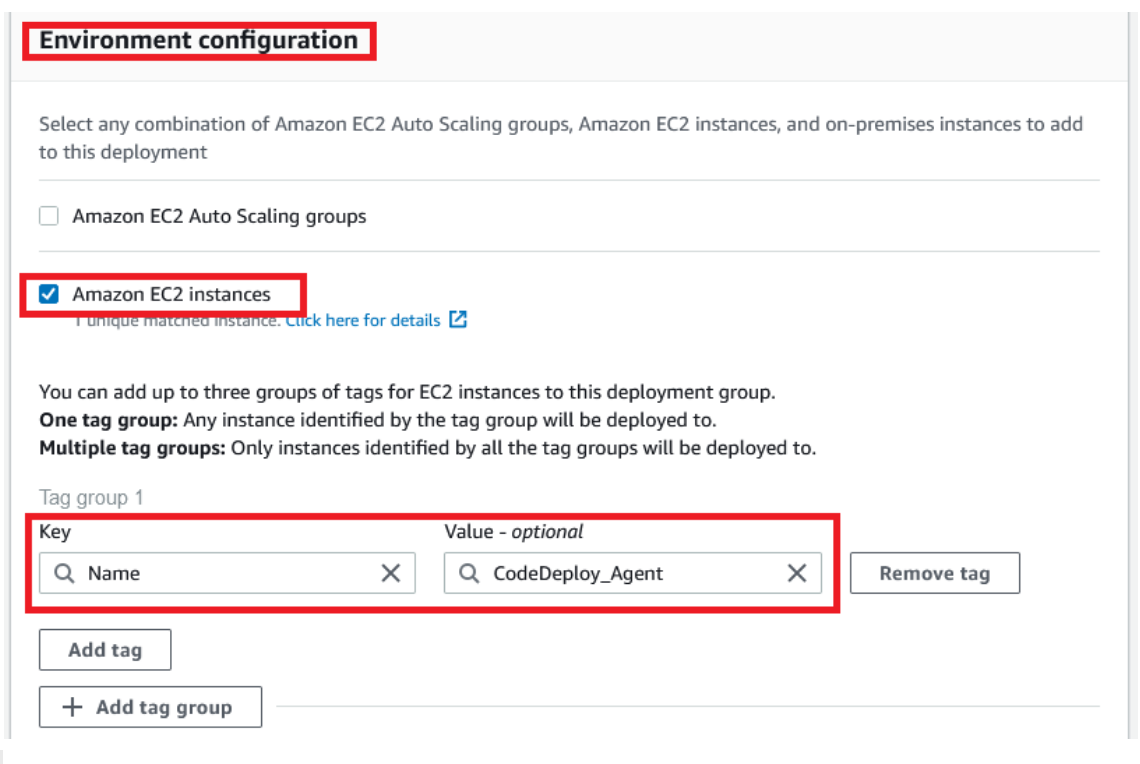
- Environment Configuration→ Select EC2 instances and then Choose the Name Tag with the Instance which we have created earlier here I have created the instance name as CodeDeploy_Agent.
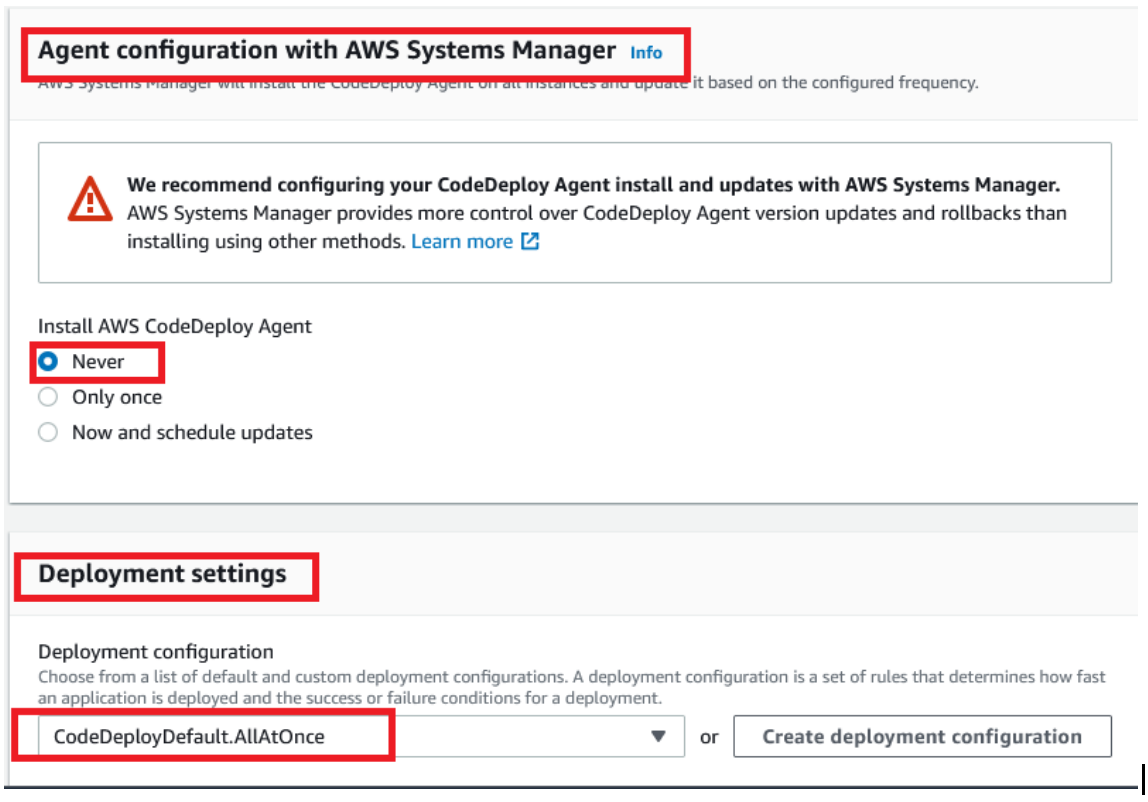
- Agent Configuration with AWSsystem Manager→ Select Never
- Deployment Settings→ Select CodeDeployDefaultAllatOnce from the dropdown.
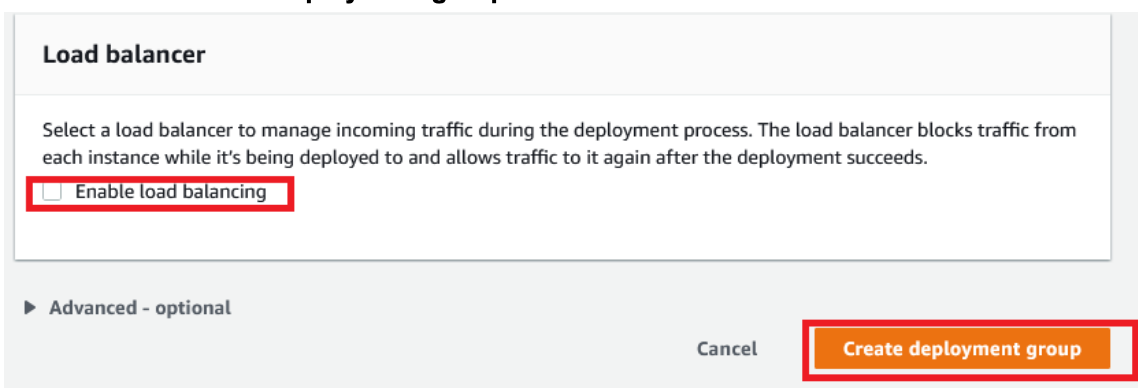
- Load Balancer→ Deselect the Tick mark on Enable Load Balancing and then finally click on Create deployment group
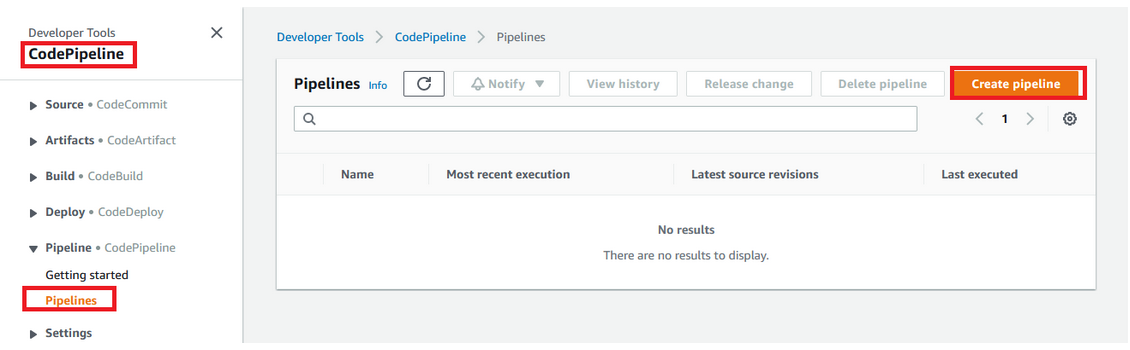
Creating Code Pipeline
- Go to All Services→ CodeDeploy Service→ Click on Pipelines from the side pane and then Click on Create Pipeline.
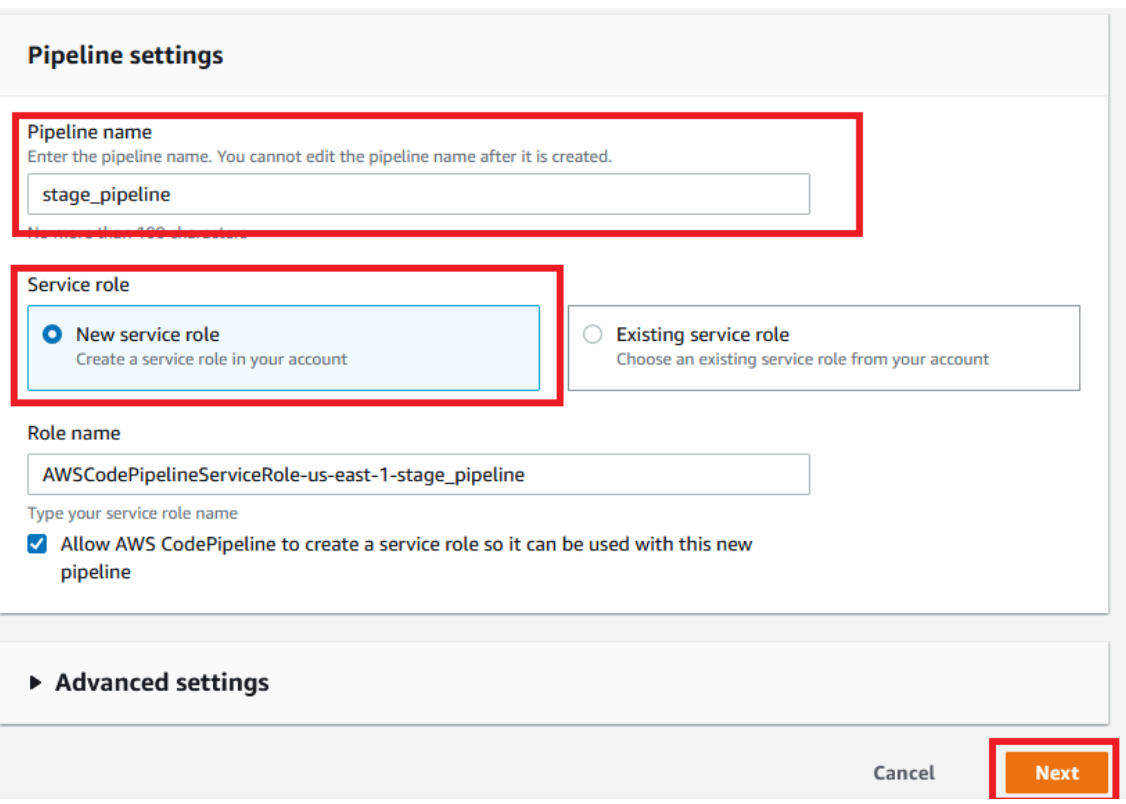
Provide the following
- Pipeline Name→ Stage_pipeline(Might be a name of your choice)
Role Name→ Don’t need to provide anything it will automatically create and then click on Next.
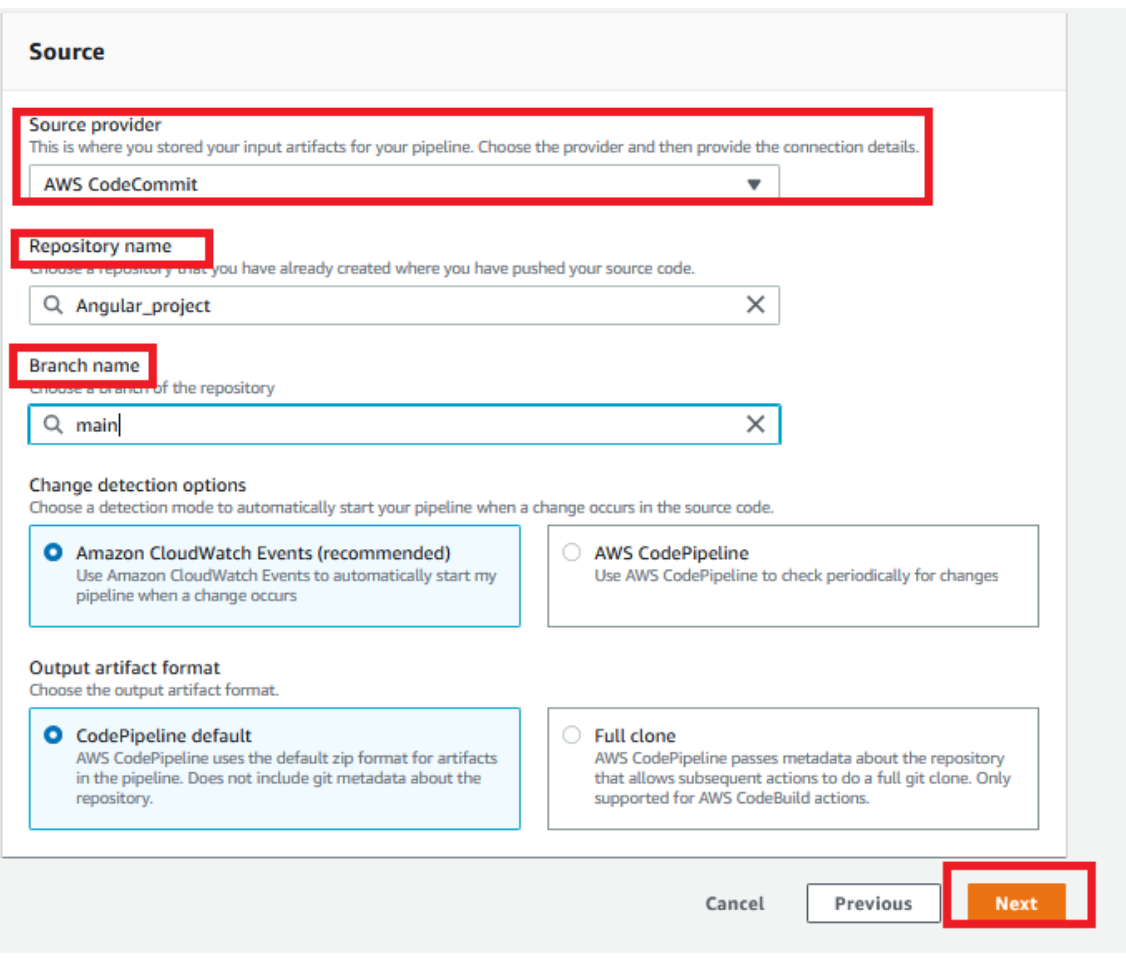
- Source provide→ Select AWS codeCommit (Since my clients code base is in code commit)
- Repository name→ Choose your repo for mine its Angular Project
- Branch Name→ Main
- Change Detection Options→ Select Amazon Cloud watch events
- Output Artifact format→ Select Codepipeline default and then click on Next
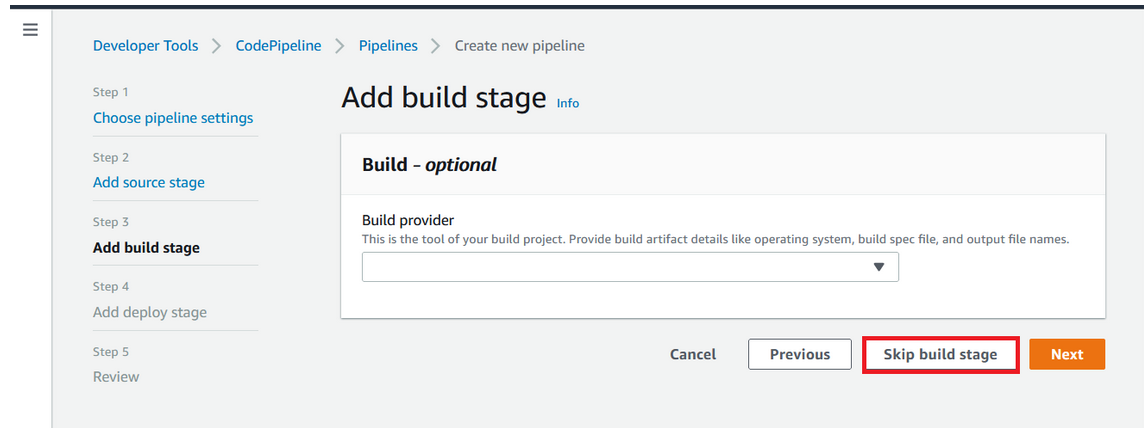
- Click on Skip build stage and then Click on Skip
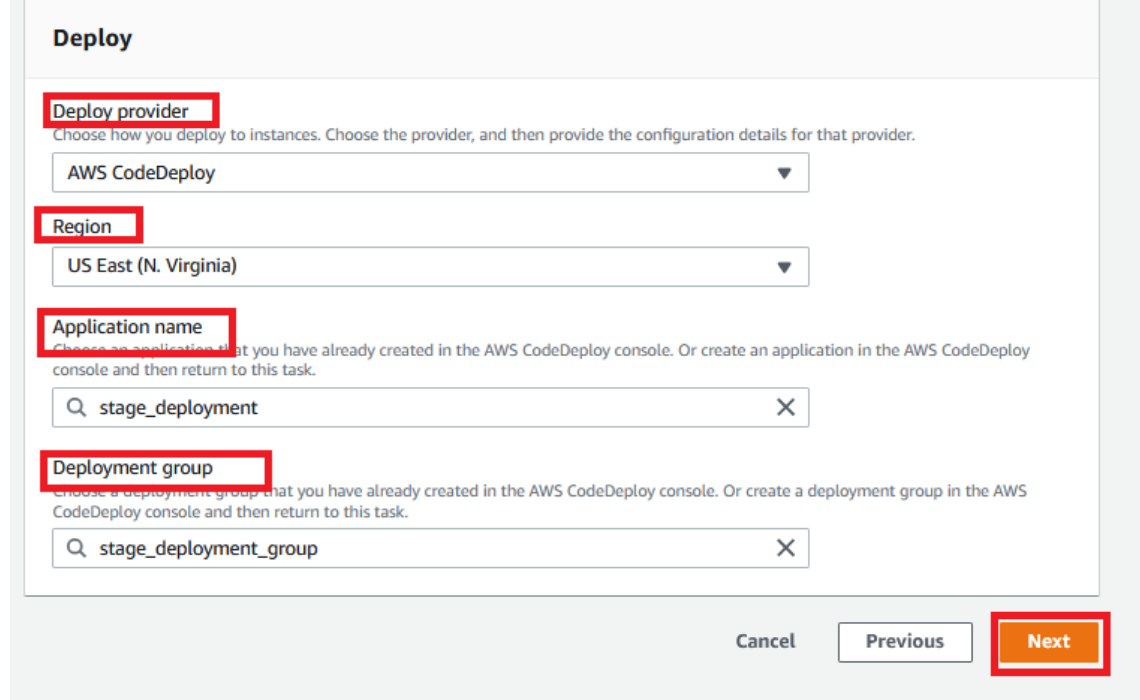
- Deploy Provider→ Select AWS CodeDeploy
- Region→ Here I have Chosen US North virginia US East
- Application Name→ stage_deployment which we have created earlier
- Deployment group → stage_deployment_group which we have created earlier and then click on Next and finally click on Create Pipeline.
In Part1 and Part2 we have setup, EC2 instance, installed Angularjs, setup CodeDeploy and CodePipeline. In Part3 we will setup Cloudformation template and aws command to automate the SAAS application creation through automated way.


