In this article we will learn about how to use Google Cloud Storage for storing and uploading a file. As you are aware, the entire world’s data is moving to the cloud. You have to know how to upload the data in Google Cloud Storage. The thing that recognizes the Cloud is, in terms of Cloud Storage and the great part is if you decide to save your files to the cloud you can access them anywhere at any time from the internet.
It will be a step by step process for uploading data in Google Cloud Storage. Let’s get into this article and learn about Google Cloud Storage. Stay tuned here, we will keep publishing a lot more articles on Google Cloud.
Before starting to learn this article I would recommend you to have a look on our previous blog on “How does Google Cloud Storage work?” to have a better understanding on Google Cloud Storage.
What is Google Cloud Storage?
Cloud storage is used to store and manage your data online in the data warehouse or also known as data centers. These data centers work as a virtual locker to help you store and manage your data.Cloud Storage is used for hosting a static website,retrieving data and also for disaster recovery.
Here you need to pay a certain amount to avail these services and also you can upload the data in the cloud storage and you can share that data by generating the simple link in google cloud storage and the receiver can access the data by simply clicking on the link in the browser.
Login to Google Console
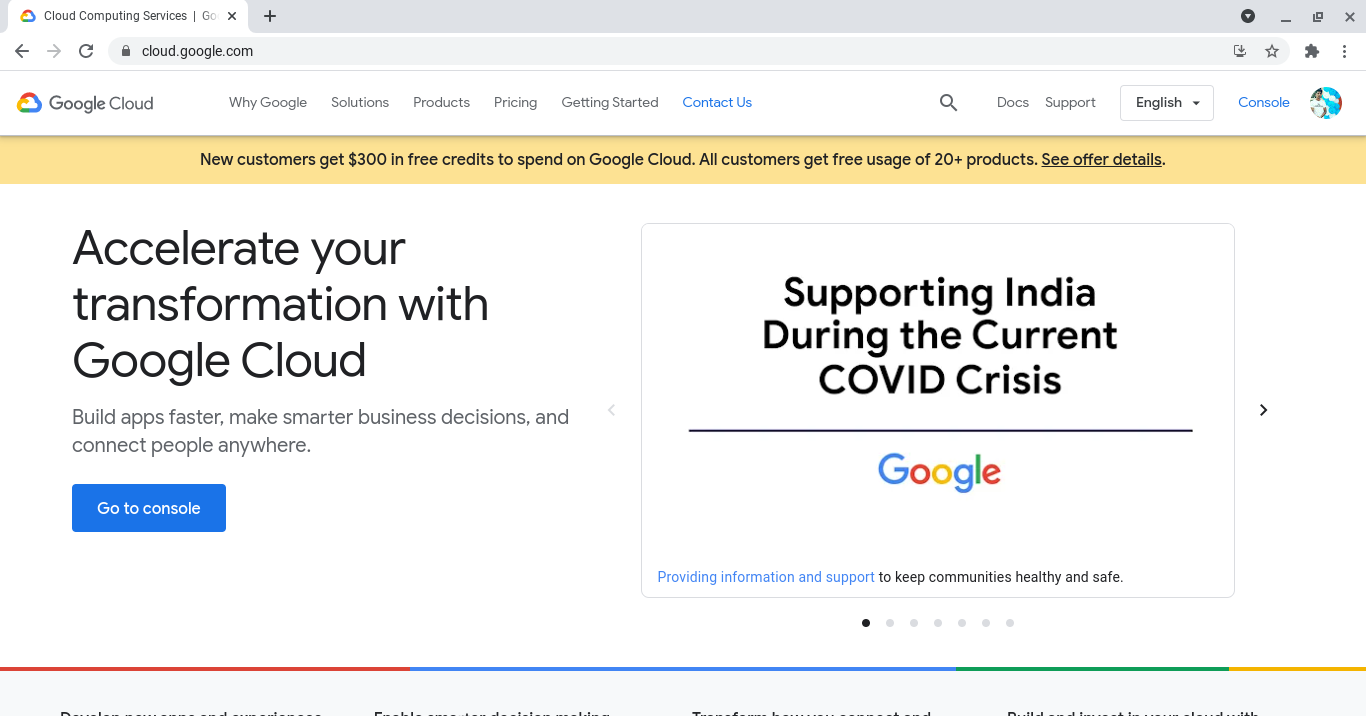
The first thing is obviously you have to go to cloud.google.com and you can see the Google cloud website.
Here, you have to log in with your gmail id and click on the Go to console icon to enter into the Google Cloud Platform.In the below screen you can see the Google cloud website and the console icon.
Creating a new project for Cloud Storage
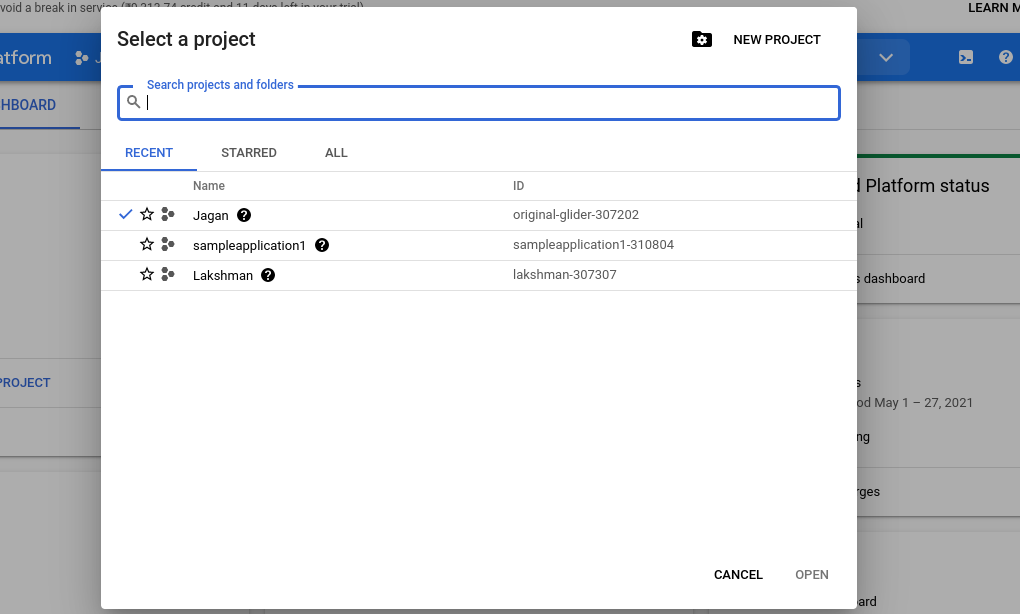
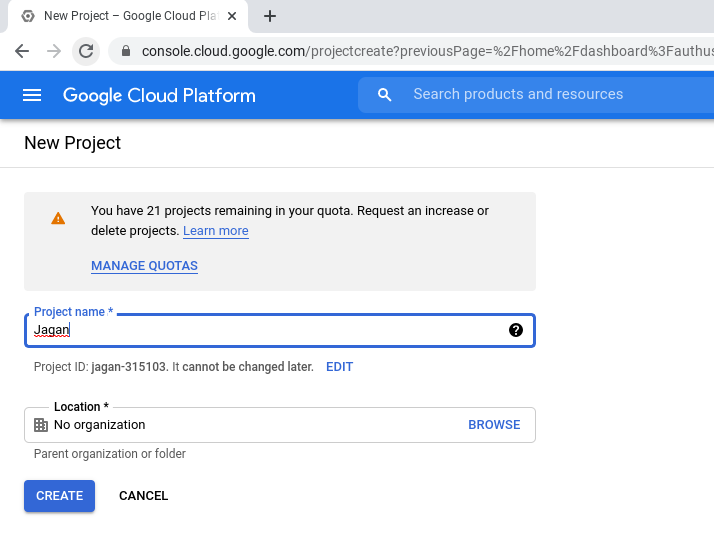
After logging in to the console click on the project icon and select the new project and then create a new one for uploading data in Google cloud platform. In the below screen you can see the image of how to create a project.
After selecting the new project enter the name of the project and leave the organization as it is and click on the create icon to create a new project for cloud storage.
Selecting the Google cloud storage service
After creating a new project you have to select the Cloud Storage service under the Storage heading from the Navigation menu and click on the browser tab to get into the Google cloud storage.
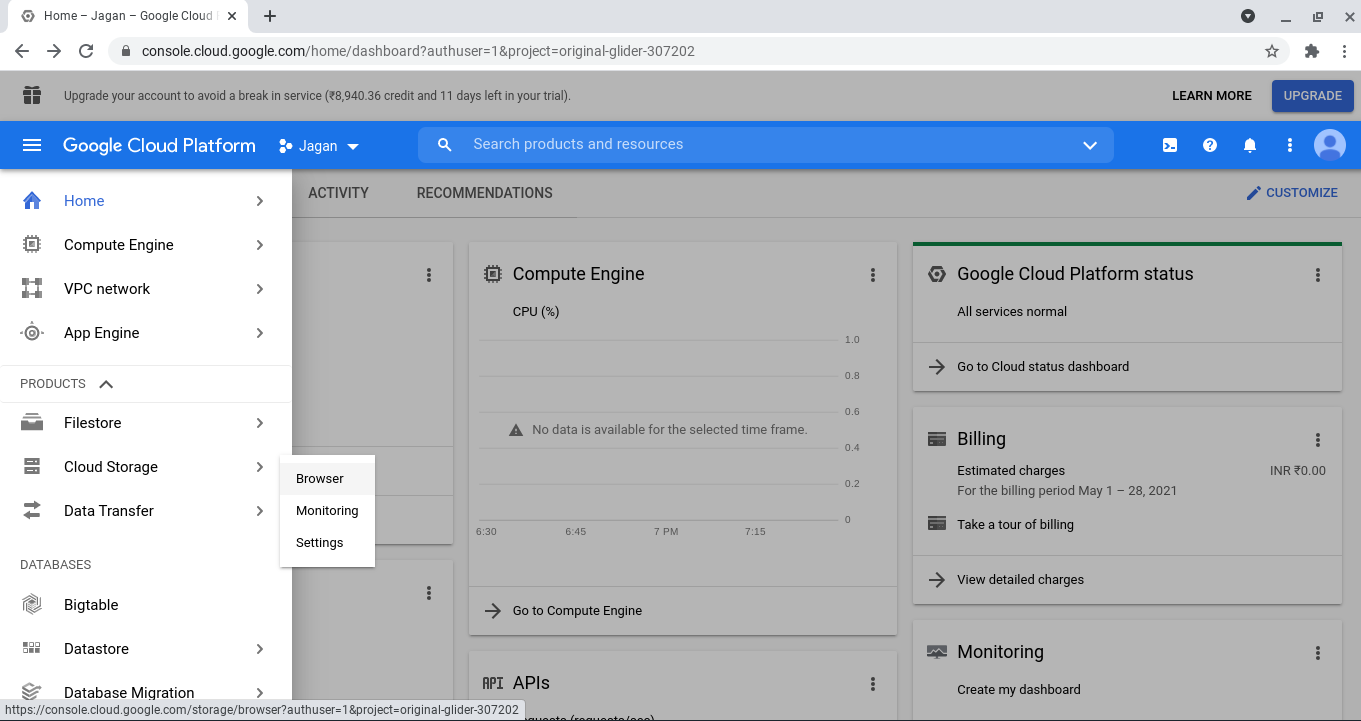
Now you will get the screen below for creating a bucket in Google Cloud Storage.The first thing you have to know is that on Google Cloud Storage your data is stored in buckets.
Bucket is a unique place where you can store your files in Google Cloud Platform.Bucket is like a folder to store the data in Google Cloud Platform.
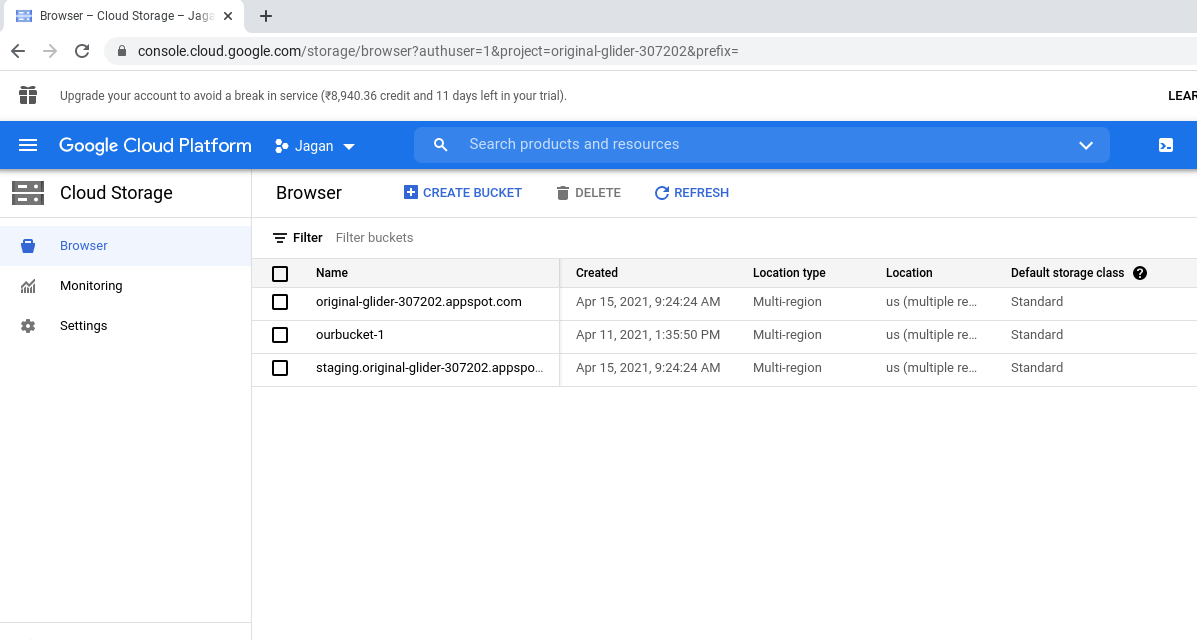
Creating a Bucket
Here, Before you are uploading data you need to create a bucket. For that you have to select the create bucket icon in the browser tab.
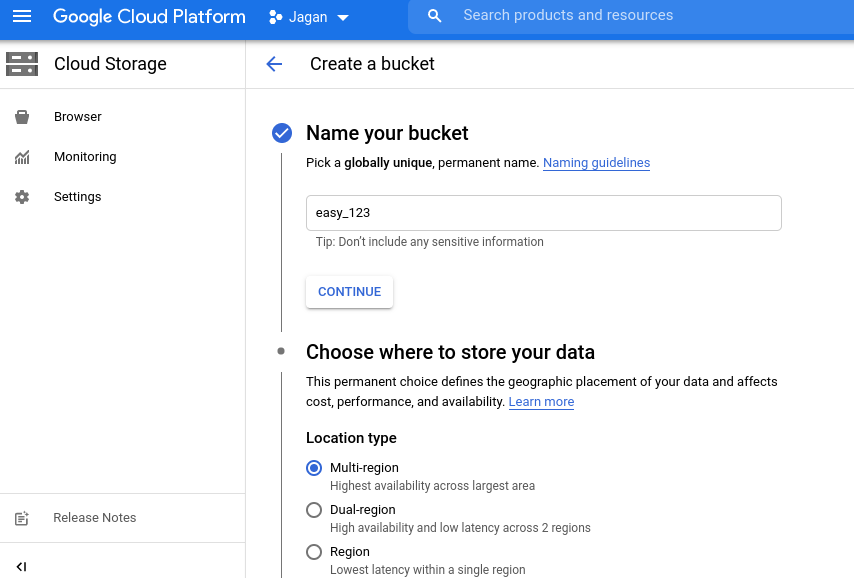
After clicking on the create bucket your have to start proceeding with your requirements like bucket name, bucket location i.e., where you’re going to store your data like Region, Dual-Region, Multi-region and also you need to select the type of storage class.
When you are naming the bucket name you have to ensure that the name must be unique across all the buckets present on the Google Cloud Platform across the entire world.
In the below screen your can see the image of how to give the bucket name and selecting the location for your bucket.
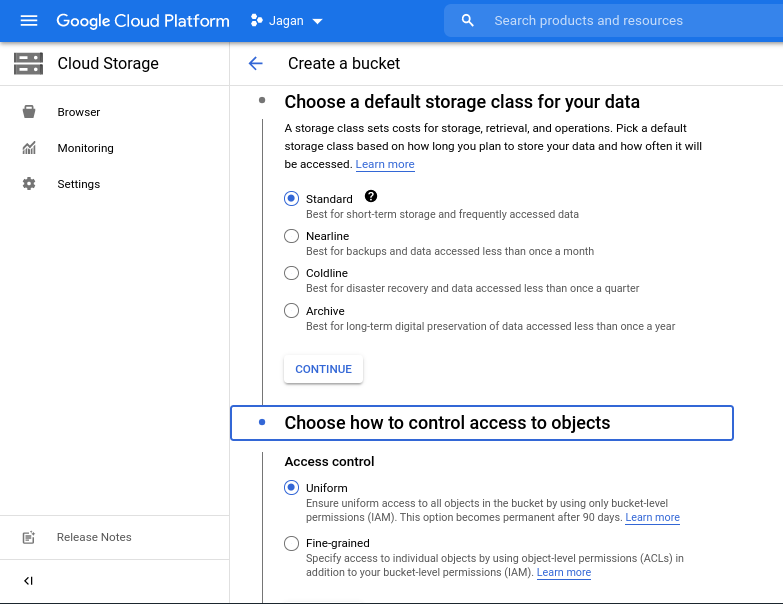
After giving the name for the bucket and selecting the location for storing your data, Now you have to select the type of storage class for retrieving and accessing the data for a certain period of time.
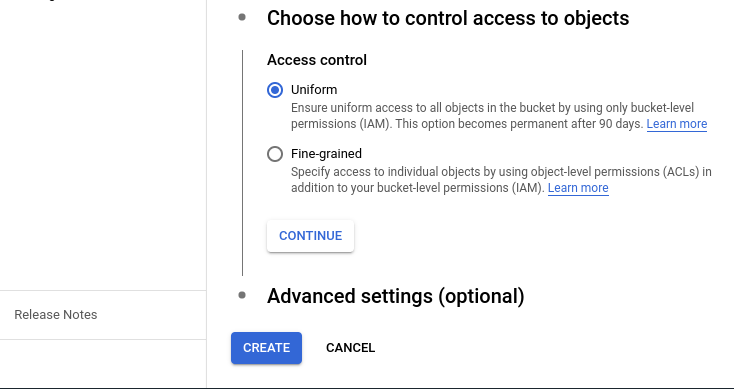
In the below screen you can see how to select the Storage class for your bucket and giving access control permission for your bucket.
Uniform access permission will give access to all the objects in the bucket by using bucket level identity access management.
After entering all the details for your bucket your need to click on the create button at the last. In the below screen you can see the create icon for creating a bucket.
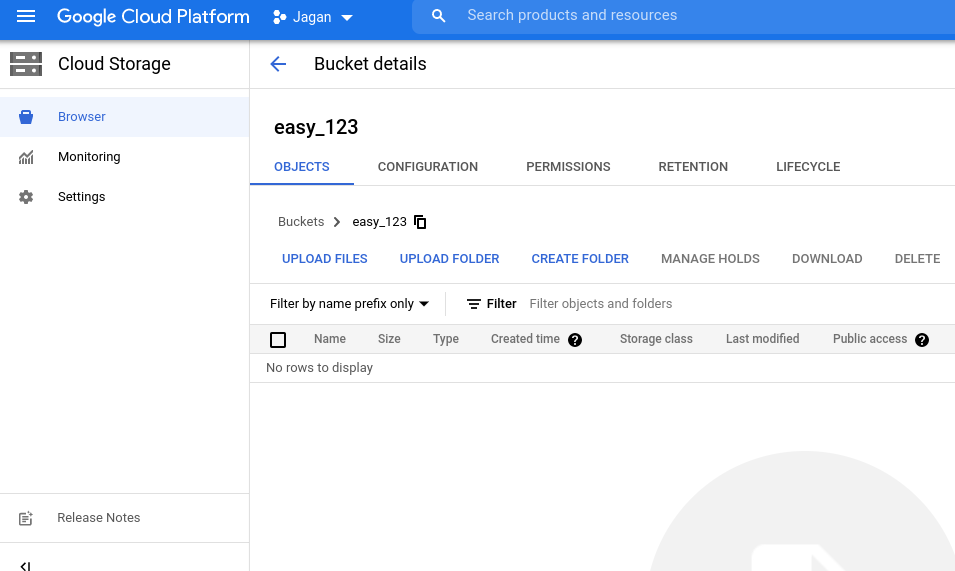
Now you can see the bucket has been created successfully with all the details and permission for your bucket.
After this bucket creation you’re going to upload the data from your local disk to Google Cloud Storage. For this you have to click on the upload files icon in the Console.
Uploading A Data in Cloud Storage
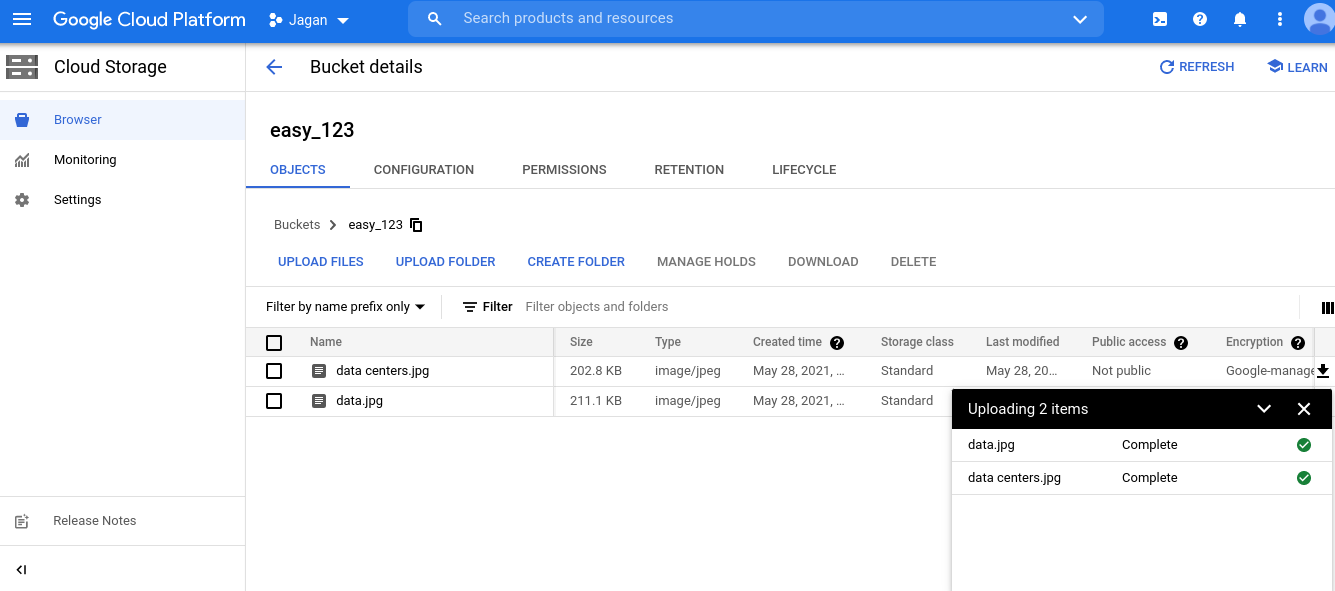
In the below screen you can see that the image has been uploaded in the bucket on Google Cloud Storage. If you click on the objects in the bucket you will get the link to open the object in the browser.
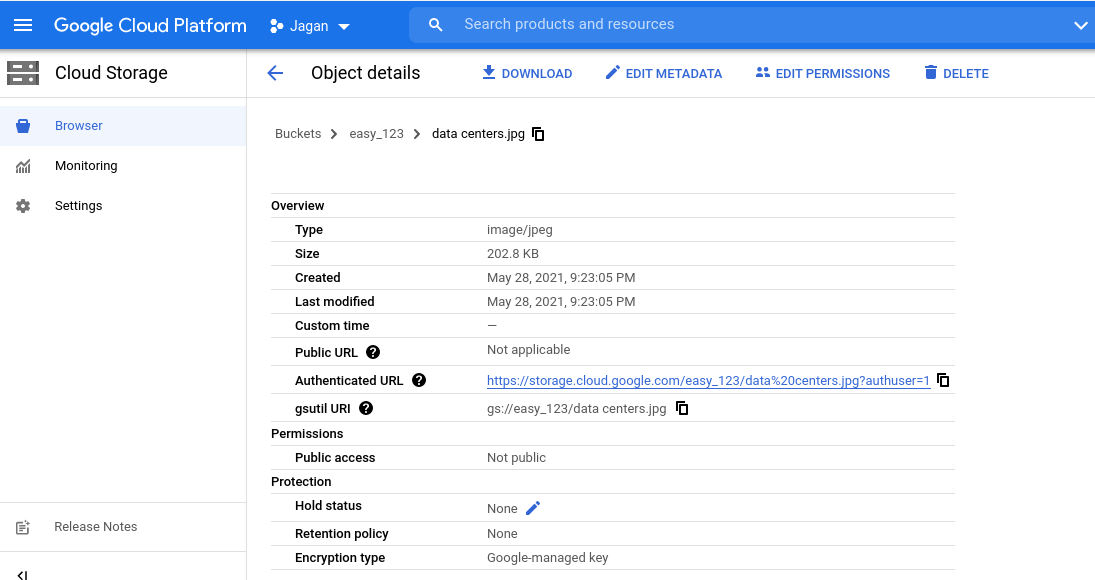
After clicking on the objects in the bucket you can see the below screen for the detailed information of that particular object.
Viewing the Data from the Cloud Storage
To view the object click on the Authenticated URL in the console and it will show you the objects in the browser.
In the below screen you can see the object which is present in the bucket by accessing the given Authenticated URL.
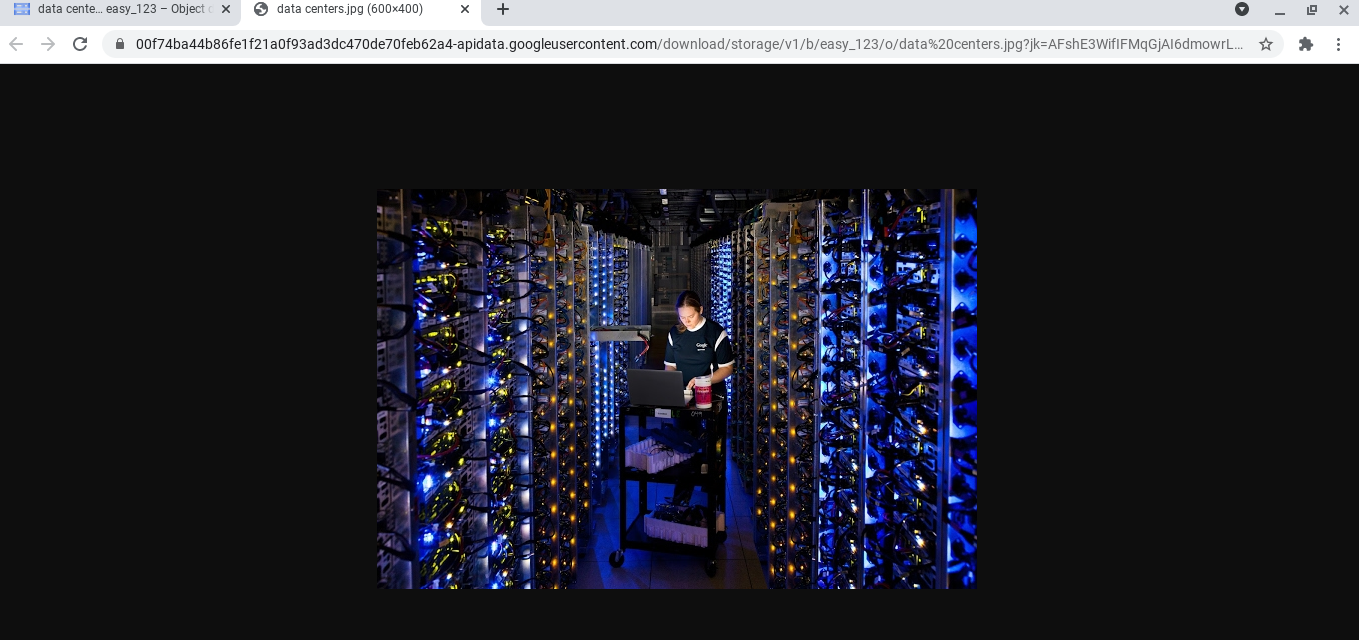
By default the URL will be in private and the authorized member can only access the file.
If you want to make that object as Public you need to change the permissions by editing the rule to Allusers and now it will be accessible to the users who are accessing the URL.
Conclusion
That’s about everything on uploading data and making it visible for the public to access the file in Google Cloud Storage. I hope this article will help you in getting started with Google Cloud Storage on Google Cloud Platform.
In the next blog, we are going to publish more Google Cloud articles in the coming week. Please stay tuned with us!!
Happy Learning!!!

